Post #2 Photoshop Journey
Going into this project, I was completely new to using Photoshop. I had never opened it or even played around with it. The attached videos helped me familiarize myself with the basics of uploading and adjusting layers. Right off the bat, the video that interested me the most was the cutouts and blending modes. I didn’t personally love the look of the three blended images. It almost reminded me of a cheesy mystery novel cover but to each their own. However, the section on creating cutouts pointed me in a good general direction for my project.
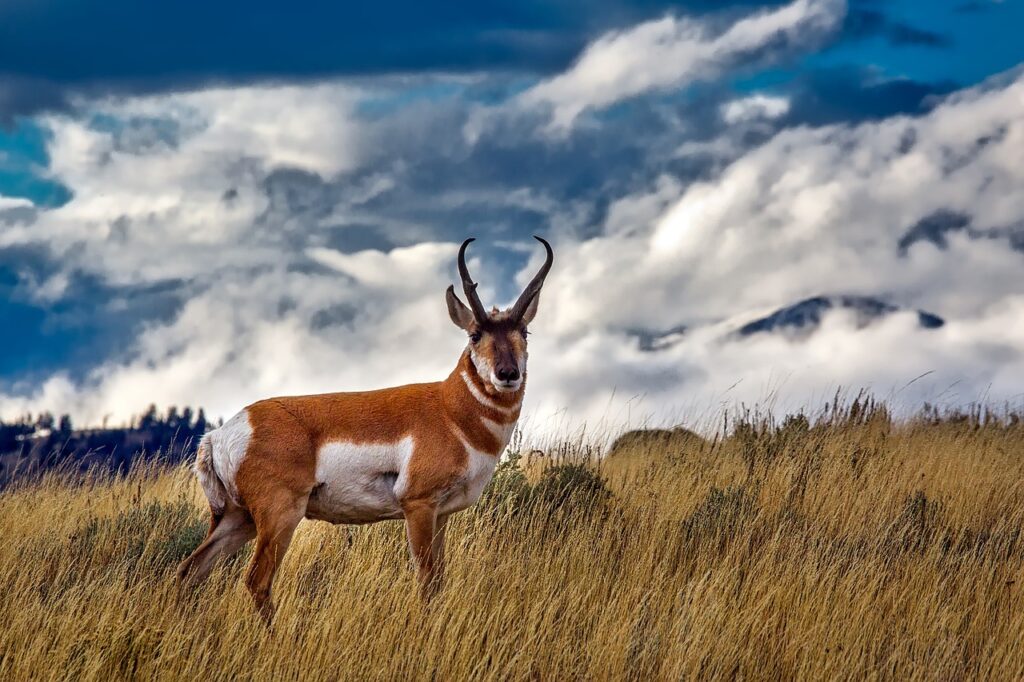
I decided to use cutouts of rangeland-themed animals to satisfy the three-image portion of my final project. I found this stock photo of a pronghorn on Pixabay and decided to go with it because it gives a nice side profile for me to cut out.
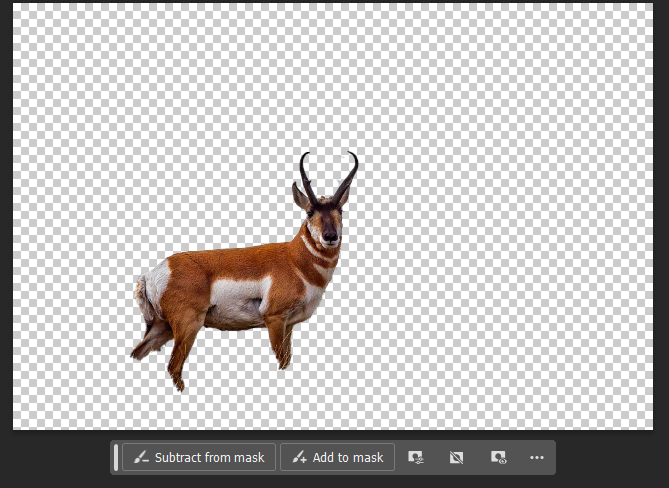
This is what the pronghorn looked like after I isolated it as its cutout without the background stuff in the photo. At this point, I was still scrolling through the tutorial videos to find more inspiration for my project. There was a video at the bottom of the page called “Photoshop Techniques for Putting Images into Shapes.” This gave me the idea that I wanted to fill the inside of my antelope cutout with the background of a pretty rangeland photo. The problem was that I had no clue how to do that. So, after doing some digging, I figured out that in order to fill the inside of the pronghorn, I needed to first convert it from an image layer into a shape layer. This was extremely simple. I learned this from 1 MINUTE : How To Convert Image Layer Into Shape In Photoshop | Photoshop Tutorial | Easy and Quick on Youtube.
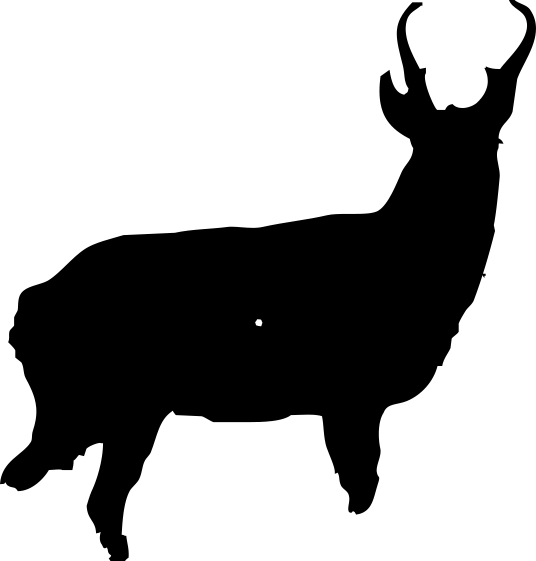
Here is what my pronghorn looked like after I converted it from an image into a shape! It took only a minute, as the video claims! After I had my desired shape, I utilized a video called Fill a Shape with a Photo in Photoshop 2022. This video was great because it showed me two important things. The first was how to fill the shape that I had made. It was extremely easy. I placed an embedded image, and then once your image is on the background frame, you can create a clip mask that “clips” your embedded image to your created shape! The video also showed me that within Photoshop, there are hundreds of premade shapes that you can utilize also! This was great because I could also take advantage of two of the premade shapes.
Below is the first and uncompleted draft of my final design project.
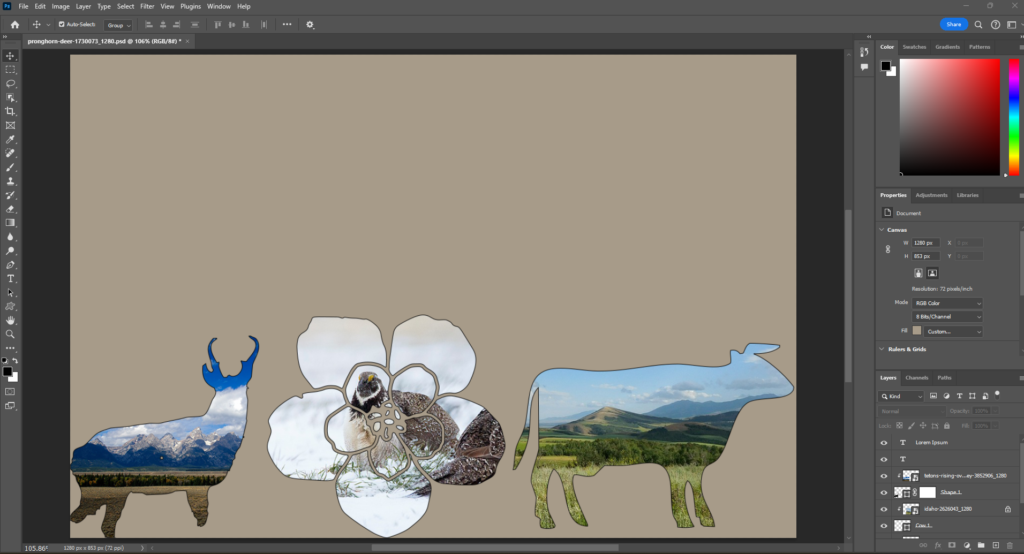
As I work on the final draft, I’m excited to incorporate a custom text box about rangeland awareness and a custom flower shape inspired by the arrow-leaf balsamroot. I’m still undecided about the background and look forward to the insights and inspiration my classmates can provide. I’m just not sure what exactly I want the design to be. It could be an awareness banner, like some examples, or a donation flyer. It could even serve as an advertisement for my blog!
In general, I was surprised by just how complicated Photoshop really is. There are thousands of things you can do, and, likely, I will never even learn a quarter of them. However, I’m glad that I was able to learn some new skills. Photoshop is highly similar to ArcGIS. There are so many things you can do; the only way you’ll ever get proficient with it is to use it all the time. I could see many practical applications of photoshop in my career so I think that I will hop on and practice with it every now and then so I don’t lose the few skills that I do know!